SHOULD I CONSIDER CHINKING MY LOG HOME?
Share
Welcome to Lovitt's Coatings online blog! We will discuss our products and how they can be used to achieve spectacular results with any wood or masonry project, may it be a log home restoration, a cedar siding staining project, or preservation and protection of concrete and masonry surfaces.
We have the finest wood cleaning, restoration, and finishing products available, our specialty log home contractors are fiercely loyal to our brand, and we are committed to providing the highest quality ingredients and smart chemistry to our customers.
Previously only sold to licensed, professional contractors, Lovitt's is now available to the general public.

Proper log home maintenance doesn't just require regular staining. When you want to preserve a log home's integrity and appearance, you have to maintain its chinking as well. Chinking keeps bugs, precipitation, snowmelt, wind, heat and cold outside right where they belong. Without chinking, a log home ceases to function as a home at all!
What Is Chinking?
Logs, as you are surely aware, do not fit perfectly together when they're stacked on top of each other. Unless they're precision cut super logs, they will form sizable gaps between themselves.
The solution to this problem is chinking. As an ancient construction technique, chinking was originally performed with rudimentary materials: good old-fashioned mud, clay and straw, which the builder used to seal up the joints (i.e. gaps) between logs.
Unless you're a survivalist, you probably want to stick to modern chinking. It's made of pure acrylic, it's highly adhesive, it's appropriate for all climates, it daubs just as easily as mortar, and it maintains a tight bond between parallel logs as they shrink and swell in response to different atmospheric conditions.
What Does Chinking Do?
Chinking's first and foremost purpose is preventing air, water and pests from passing between logs. In addition to keeping a log home's occupants inside a comfortable and dry envelope, chinking also preserves a log home's integrity. Wood starts to rot when its moisture content hovers between 14 and 20 percent. Chinking stops that from happening!
Chinking's secondary purpose is cosmetic – although the importance of a log home's appearance is never to be understated. If you have a chinkless log home (which was built with logs that were cut to fit closely together), you may still apply chinking to the gapless joints if you wish to create a more traditional log cabin appearance. Chinking also enhances a log home's cosmetics when its color contrasts nicely against the stain or finish.
How Long Does Chinking Last?
Modern chinking product has been on the market for over 40 years. Many of the first log homes to be treated with the acrylic compound still possess perfectly serviceable chinking!
Realistically speaking, chinking lasts for an average of about two decades (so long as it was applied correctly to begin with). If you live in a gentler climate and maintain your chinking annually, you can reasonably expect it to last twice that long. Within 20 years of installation, chinking usually only requires replacement when it is physically damaged.
How Do You Clean Chinking?
It's a good idea to clean chinking whenever you clean the rest of your log home's exterior – or at least whenever you stain and finish it.
Once you have washed the logs and their chinking with a suitable wood cleaner, inspect the logs for checking, cracking, gaps and other uneven areas. Clear these voids of debris and cut away any surrounding loose chinking. Next fill in the voids with chinking product (which lasts up to three years once it is opened; the reason why it is available in smaller "touch-up" sized tubes). Finally, paint or stain over the chinking just as you would the logs.
Note that chinking will not take the same color as wood when it is stained. You would be well advised to do a test run before committing to a stain. Alternatively, you may change chinking's color with specialized paint.
Is Chinking a DIY Project?
Chinking smaller checks and gaps is a relatively straightforward process. But what about larger chinking projects? Can a DIYer do it by themself? Yes – so long as they follow the chinking product's instructions closely and don't mind working on a ladder, lift or scaffold.
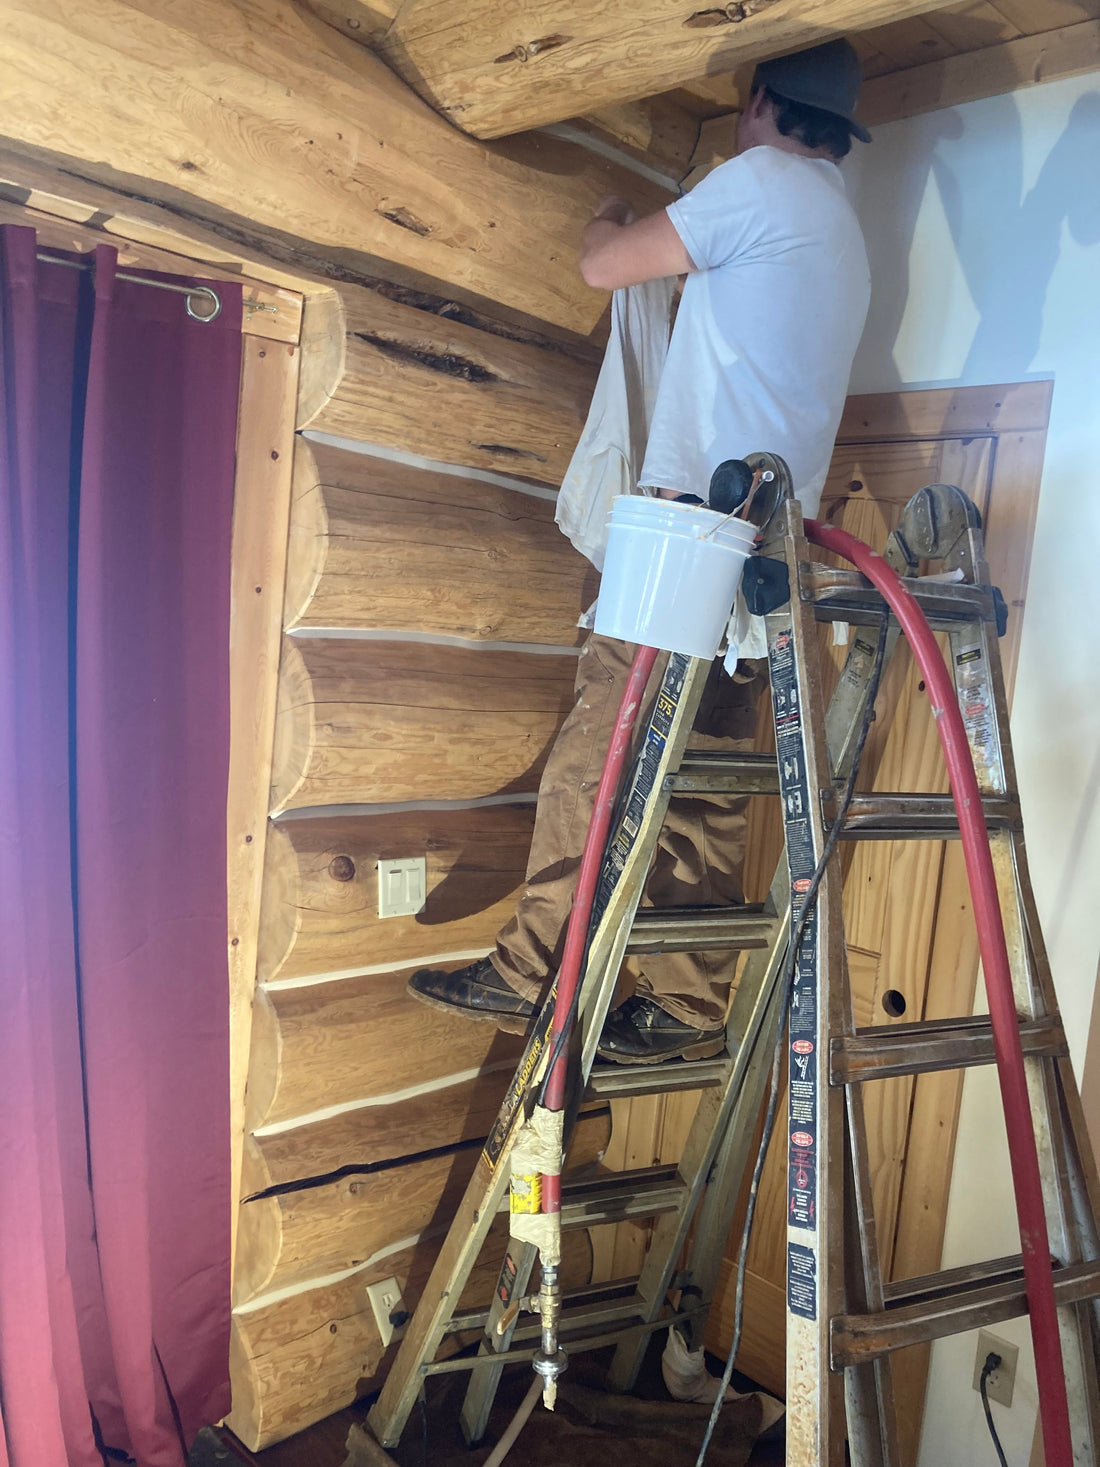
The exact method you should use to chink your log home depends on the product you are using and a few other factors. That said, here is a rough outline of the chinking application process to give you an idea of what kind of project you'd be signing up for:
Stain the log home.
- Ensure all surfaces are clean and dry, and that the wood is 40 to 80 °F. Have ample water ready to clean application tools and remove stray chinking product before it dries where it isn't wanted.
- Apply backer rod between each joint. It is a foam product that ensures chinking only adheres to the logs' tops and bottoms, and which can be stapled or adhered in place.
- Apply chinking with whichever tool you prefer: spatula, grout bag, chinking gun or chinking pump. Aim for a thickness between 3/16 and 1/4" to prevent future flaking and fracturing.
- Use a spatula or damp foam brush to smooth out chinking immediately after application.
- Wait about three to four weeks for the chinking to fully cure. Warmer, dryer weather will shorten curing time.
Are you planning on chinking your log home in the foreseeable future? Then we welcome you to contact Lovitt's Coatings today! Our friendly and knowledgeable team will make certain you choose the stain and wood cleaner you'll need to get the job done right!
