HOW TO SPRAY STAIN ON A LOG HOME
Share
Regularly applying stain to your log home does more than make the outside look beautiful. Stains also add a layer of protection for the wood, protecting the surface from dust, debris, water, chips and UV rays. Stains are a beautiful way to add protection, coming in multiple colors and finishes. However, you may feel daunted looking at your log home – that is a lot of wood to cover when restaining your log home! One of the easiest ways to apply stain to a wood home is with a sprayer.
Steps to Applying Stain with Sprayer
Preparing the Exterior
If you have decided to apply stain to your log home with a sprayer, you will first need to complete some prep work. If your log home is new, you will want to remove the “mill glaze,” or the hard finish that is created during the milling process to protect the wood. If you are re-staining wood that has previously been stained, you will want to remove finishes and coats to start with a clean surface.
Start by power washing the exterior wood on minimum pressure (so as to not damage the wood). Use an orbital finish sander to get rid of the glaze or other finishes on the wood. Be sure to wear proper safety gear for this part! Then rinse or wipe off the surface to remove any leftover sanding particles or debris.
Prepare the Surrounding Area
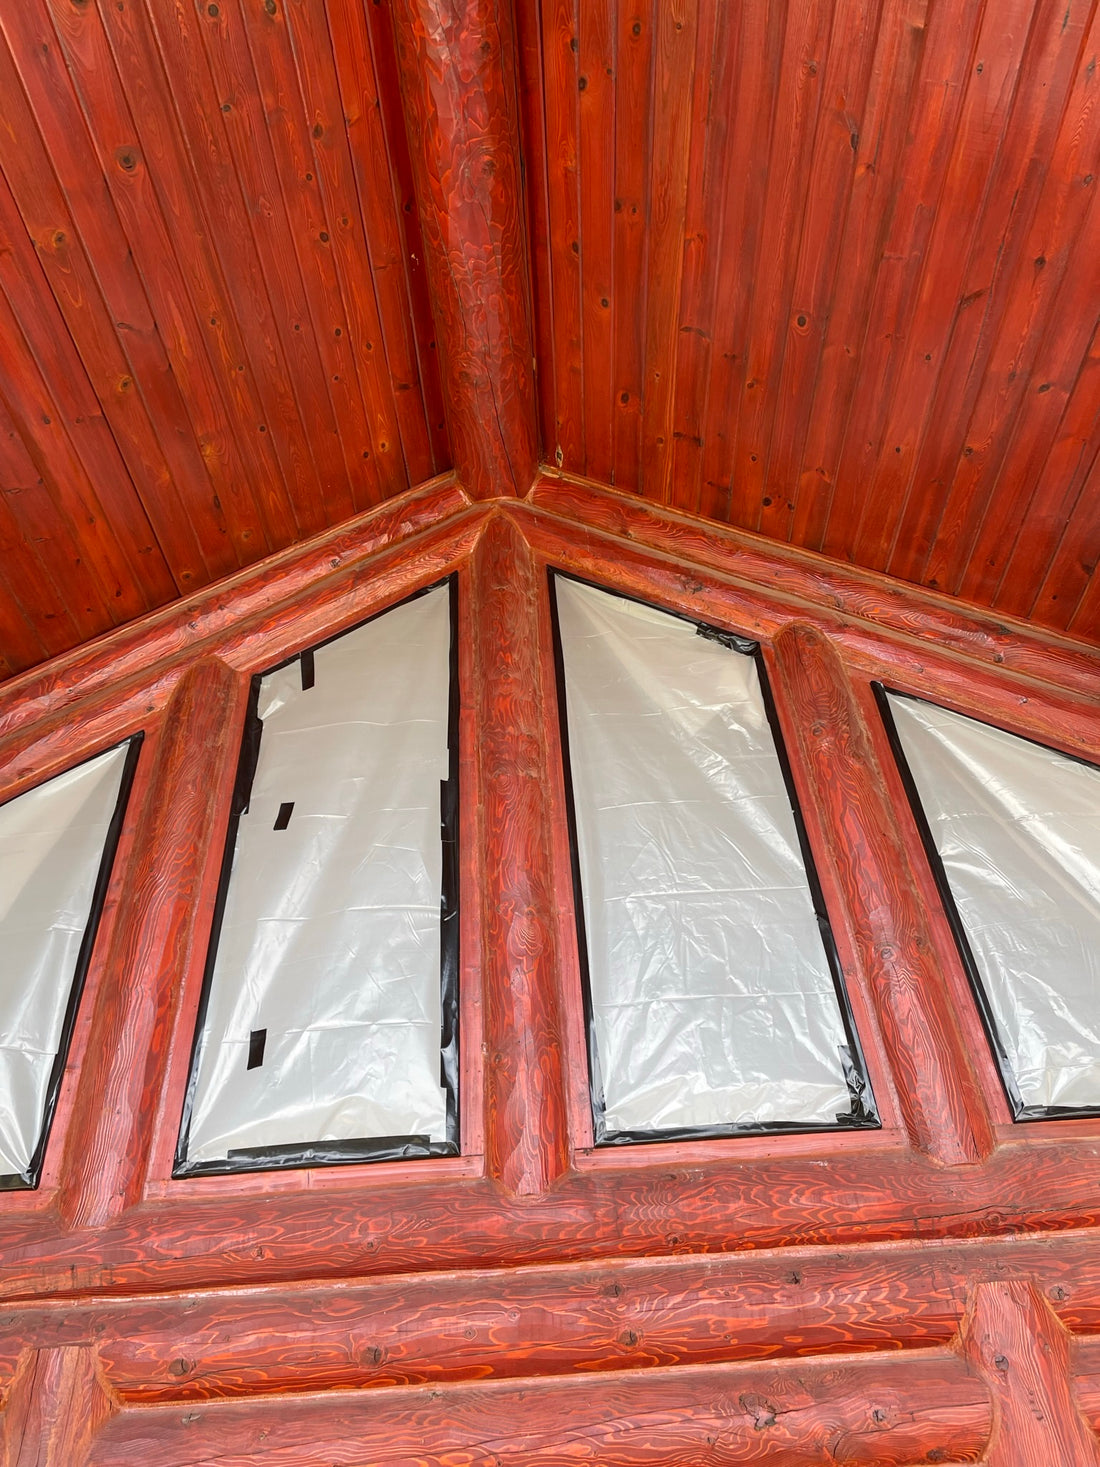
One of the negatives of using a spray applicator is that particles do not always land directly on your log home. Stain particles can be picked up by even the slightest movements in the air, and may find their way to your windows, shrubbery or even nearby sidewalks or cars. Remove any excess items from the area, and tape or cover windows, doors, vents and other areas on the house you do not want stained.
Read the Instructions
All staining products are different, so ensure that your product is made to be used with a spray applicator and that you understand how it should be used. If you are unsure, talk with a professional at a staining and coating store, such as Lovitt’s Coatings, to make sure you have all the tools you need to properly complete the job.
Set Up the Sprayer
Whether you are renting or buying a sprayer, make sure you take the time to properly set up the sprayer and read all the instructions. Sprayers should be completely clean before you start. You will also need to prime the sprayer pump.
Test the Product
This step goes hand-in-hand with the above step – test the products and sprayer on an inconspicuous surface to ensure everything works properly before you start on the main area. Use this time to adjust the pressure, find the right spray nose and work on your spray technique.
Start Spraying
Keep the sprayer nose parallel to the surface, moving quickly and evenly. Several thin coats are better than a thick one, which can cause drips or runs of the stain. Overlap your layers about 30 to 50 percent for even coverage.
Back Brush the Area
While one person is spraying, a second person should “back-brush” the stain or go over the stain with a brush. Because sprayers do not have a lot of force, you will want to brush over the spray for a clean, uniformed look.
Tips for Spray Staining a Log Home
- Spray when the temperature is between 50 and 70 degrees Fahrenheit.
- Avoid spraying on days with high humidity or moisture in the air.
- Stir the stain as you use it to prevent the pigment from settling.
- Work one complete wall or area at a time for the most uniform color.
- Start at the top, moving horizontal with the wood grain to natural breaks in the wall such as windows, doors or joints.
- Protect stain from getting wet at least 24 hours after a new coat of stain has been applied
Purchasing Wood Staining Products
Are you ready to purchase your supplies to stain your log home? Contact the team at Lovitt’s Coatings for professional assistance and products to make your next job a breeze.
